Warps Plugin
Warps Plugin (1.19.3, 1.18.2) allows players to create warp points by typing a command in the chat. It also has the capability to integrate with donation groups and serves as a more user-friendly alternative to warps from Essentials.
Features:
- Support for most versions of the Minecraft
- Ability to connect your own translation files. Default is English, Russian, Ukrainian
- Live technical support on the BreakBrains team server
- Open source code
- No copyright
Commands:
- /warps – main plugin commands. Use /warps help to see the available list of commands
- /warps info – plugin information
- /warps help – plugin commands
- /warps reload – reload plugin settings
- /warps debug – view debugging information
- /warps update – checking for available plugin updates
- /warp <name> – teleport to the specified warp or show a list of server warps
- /setwarp [name] – set warp
- /delwarp [name] <yes> – remove the warp
- /warpslist <player> – view a list of player warps
Permissions:
- bbrains.warps.* – full access to the plugin
- bbrains.warps.cmd.* – access to all plugin commands
- bbrains.warps.cmd.main – access to the «/warps» command
- bbrains.warps.cmd.help – given access to the «/warps help» command
- bbrains.warps.cmd.info – given access to the «/warps info»
- bbrains.warps.cmd.debug – given access to the «/warps debug» command
- bbrains.warps.cmd.update – given access to the «/warps update» command
- bbrains.warps.cmd.reload – given access to the «/warps reload» command
- bbrains.warps.cmd.warp – given access to the «/warp» command
- bbrains.warps.cmd.warpslist – given access to the «/warpslist» command
- bbrains.warps.cmd.warpslist.admin – given access to the «/warpslist player» command
- bbrains.warps.cmd.setwarp – given access to the «/setwarp [name]» command
- bbrains.warps.cmd.delwarp – given access to the «/delwarp [name]» command
- bbrains.warps.cmd.delwarp.admin – given access to the «/delwarp [name] <yes>» command
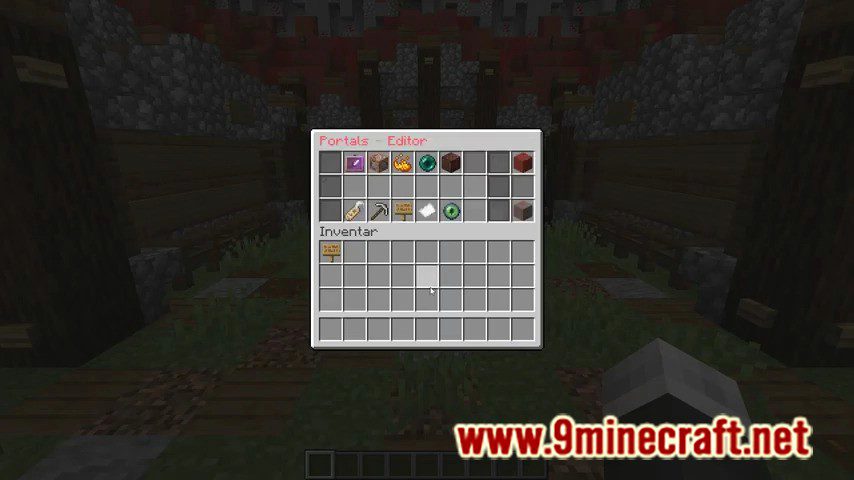
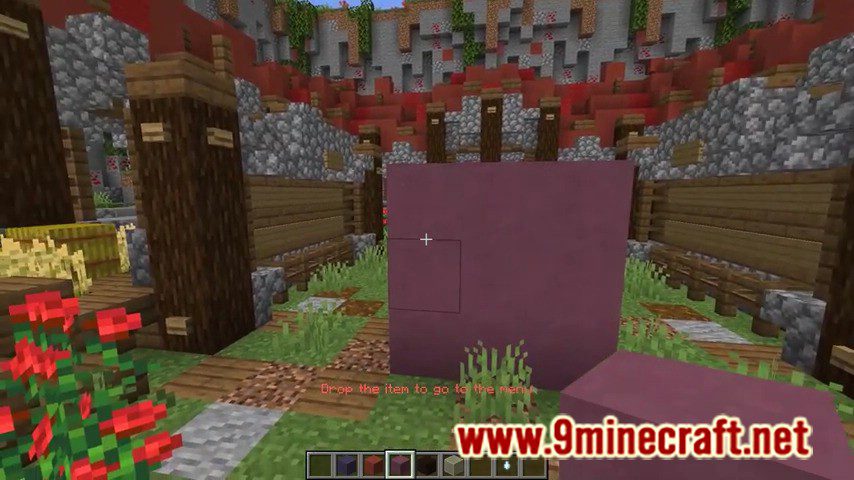
Screenshots:
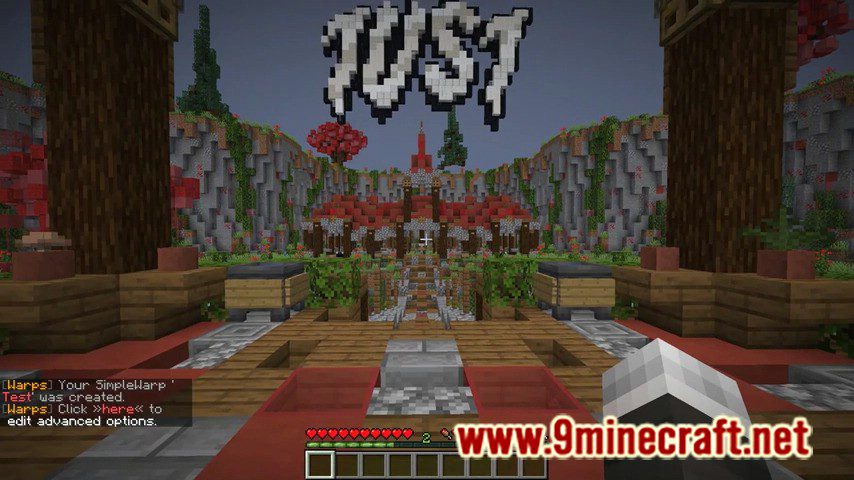
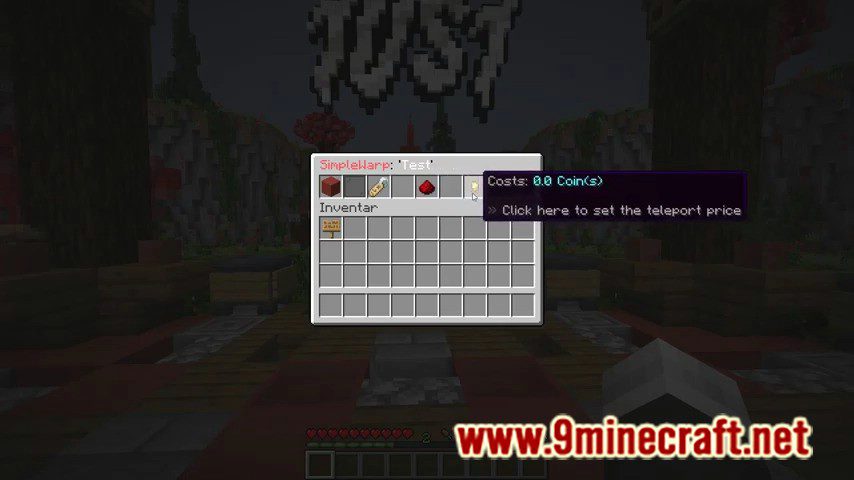
How to install:
- Download a plugin of your choice.
- Place the .jar and any other files in your plugins directory.
- Run the server and wait for it to fully load.
- Type stop in your Minecraft server console to bring the server to a clean stop.
- Run the server.
- All done! Your plugin should be installed and ready to be used.